Capturing the Night Sky With Your Smartphone
Astrophotography 101: Capturing the Night Sky With Your Smartphone
Discovery Place Nature
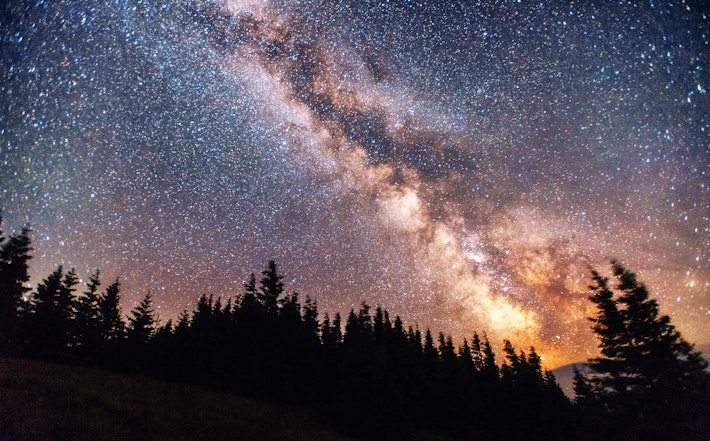
Astrophotography, or the process of taking pictures of objects in the night sky, has long been linked to pricey and sophisticated gear. However, thanks to improvements in cellphone camera technology, anyone with a smartphone can now take stunning photos of the night sky.
Discovery Place scientists are sharing tips and techniques that will maximize the capabilities of your smartphone camera and get you set up to take brilliant photos of the night sky!
Tip 1: Try to be away from light pollution
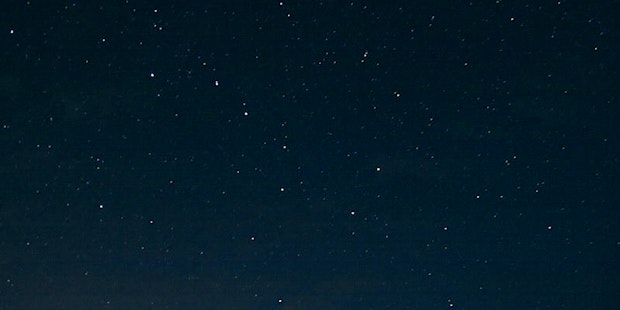
Light pollution is unwanted, artificial light that limits what you can see in the night sky. People living in cities know you cannot see nearly as many stars as you go to more rural areas.
If you can, go to a place far from city lights. If this is not reasonable, you can minimize local light pollution by turning off porch lights, house lights, etc.
Tip 2: Know the night sky
Before beginning your astrophotography journey, you must become familiar with the night sky and understand the phenomena you hope to photograph.
Below are some great astronomy apps that can help identify stars, constellations, planets and more!
- Star Gazer
- Night Sky
- Sky Guide
- Planet Finder
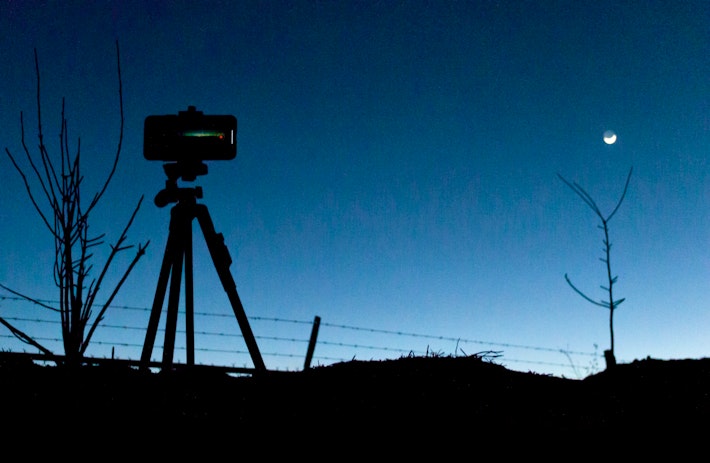
Tip 3: Stabilize your phone
A tripod or phone stand is necessary to take photos of the night sky. Because astrophotography requires long exposure (more on this later), any camera movement while taking the photo will result in blurry, streaky photos.
You can find phone tripods online or simply prop up your phone if you have limited resources. Anything that can secure your phone in place while taking the pictures will work!
Tip 4: Use night mode on your phone’s camera
Night mode allows your phone to take longer exposure times. Long exposure means that instead of your camera opening and shutting quickly, the camera will stay open for longer and allow more light to come in.
For iPhones 11 and newer, your phone comes with night mode. Your phone automatically gives you the night mode option in a low-light setting. You can adjust the exposure time by clicking the yellow icon in the top right of the screen.
Find more information about iPhone’s night mode here.
For Android phones, open your camera and look for the night option in shooting modes. Once in the night ode, you can see an option to select the exposure time.
Find more information on Android night mode here.
Tip 5: Use a timer
When using long exposure times on your camera, you need to make sure the phone is as still as possible. We strongly recommend using a timer on your camera because when you click the shutter button, you are moving the phone slightly. Using a timer will help you get the clearest pictures possible.
Tip 6: Edit your photos
Once you have taken your pictures, slight adjustments to factors like brightness, contrast, exposure, vibrance and brilliance can make your pictures pop. Make sure not to overdo the editing, you do not want your pictures to become too saturated!
Astrophotography takes practice. Do not be discouraged if your pictures do not turn out well at first. Keep practicing!
Want to experience the cosmos up close? See the universe like never before in “Edge of Darkness,” a one-of-a-kind planetarium experience inside the Accenture IMAX Dome Theatre at Discovery Place Science.